History
1990 | Exciting first steps
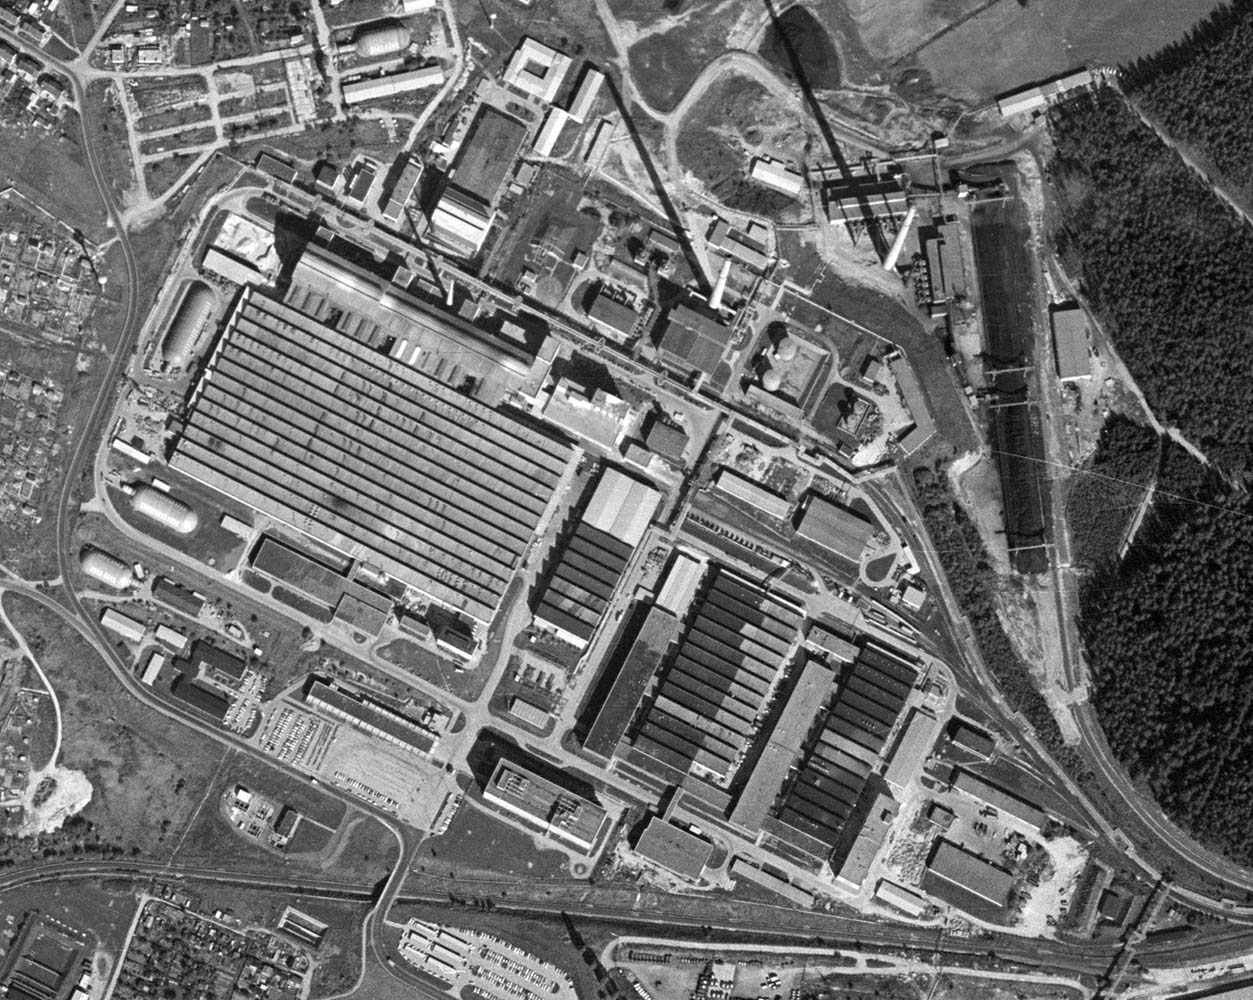
VMA has its origins in the traditional glass industry of the central German state of Thuringia. Once it became clear that the Technisches Glas Ilmenau state combine had no future after German reunification, employees from the R&D department decided to found their own company – making use of the knowledge they had gained of the glass industry.
These workers, who were specialised in automation, already had experience of developing diameter and wall thickness measurement technology for glass piping runs. They were able to build on this in their new company by gaining experience in the field of optical measuring technology, as well as acquiring knowledge of the operating technology in glassworks and the technological environment of glass manufacturing.
With a clear objective and firmly determined, they navigated their way through the bureaucracy involved in setting up a company and successfully founded VMA in December 1990.
1994 | Boldly moving forwards
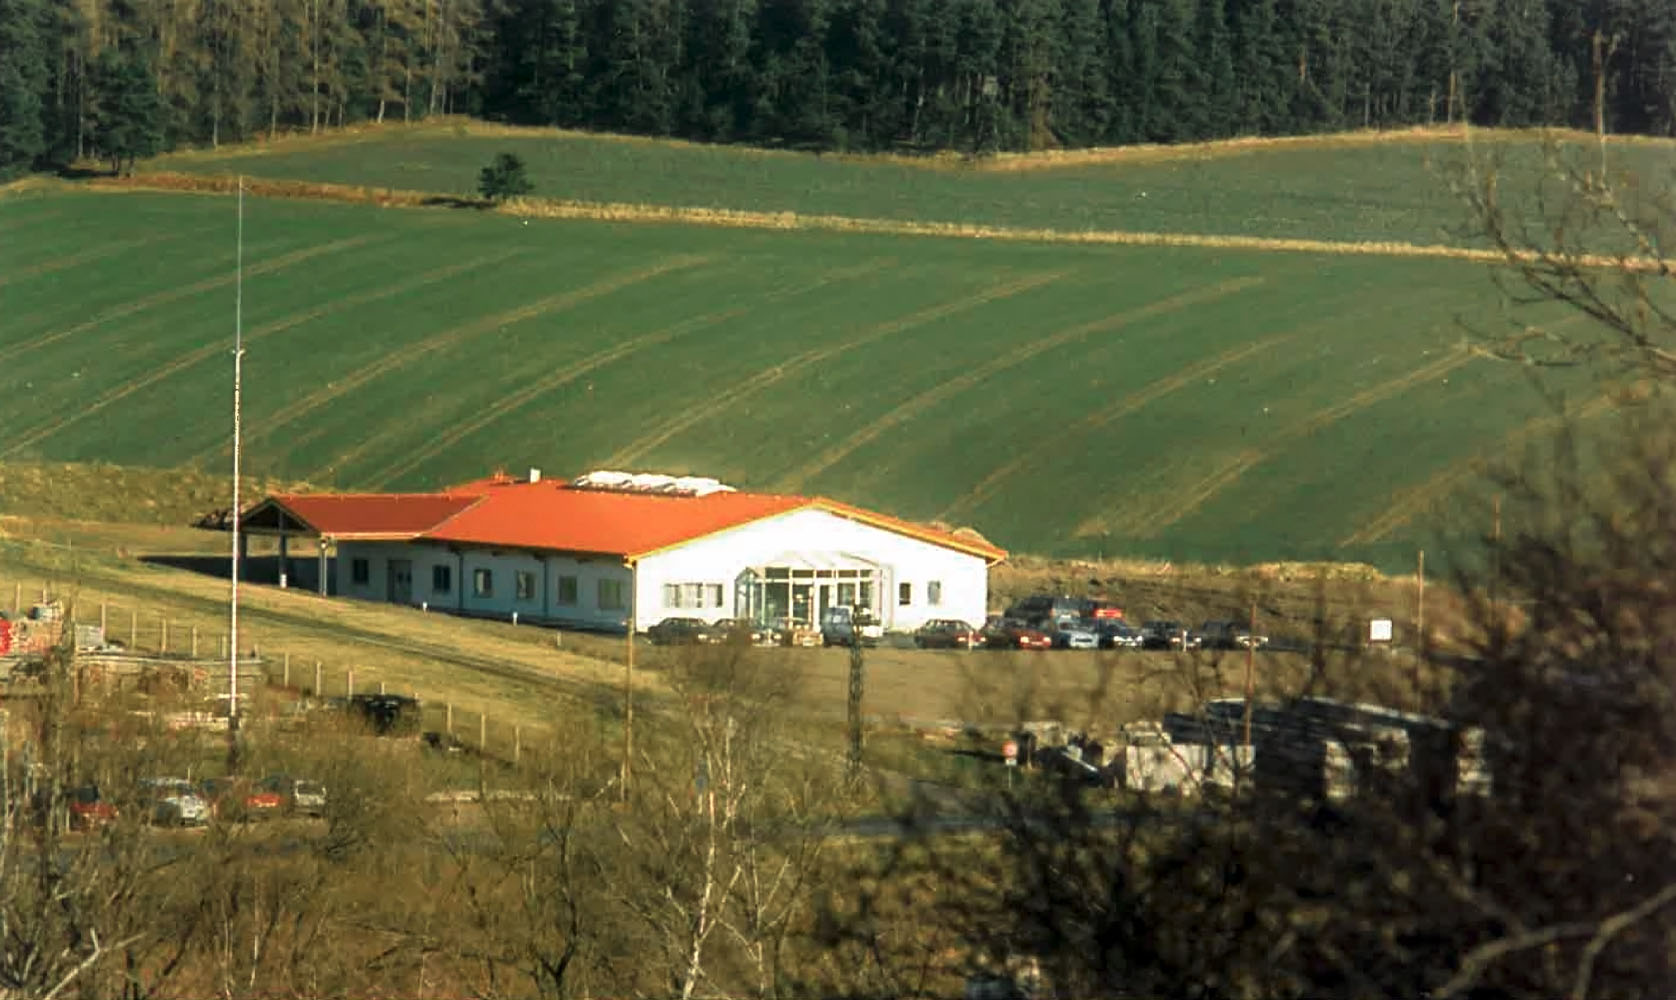
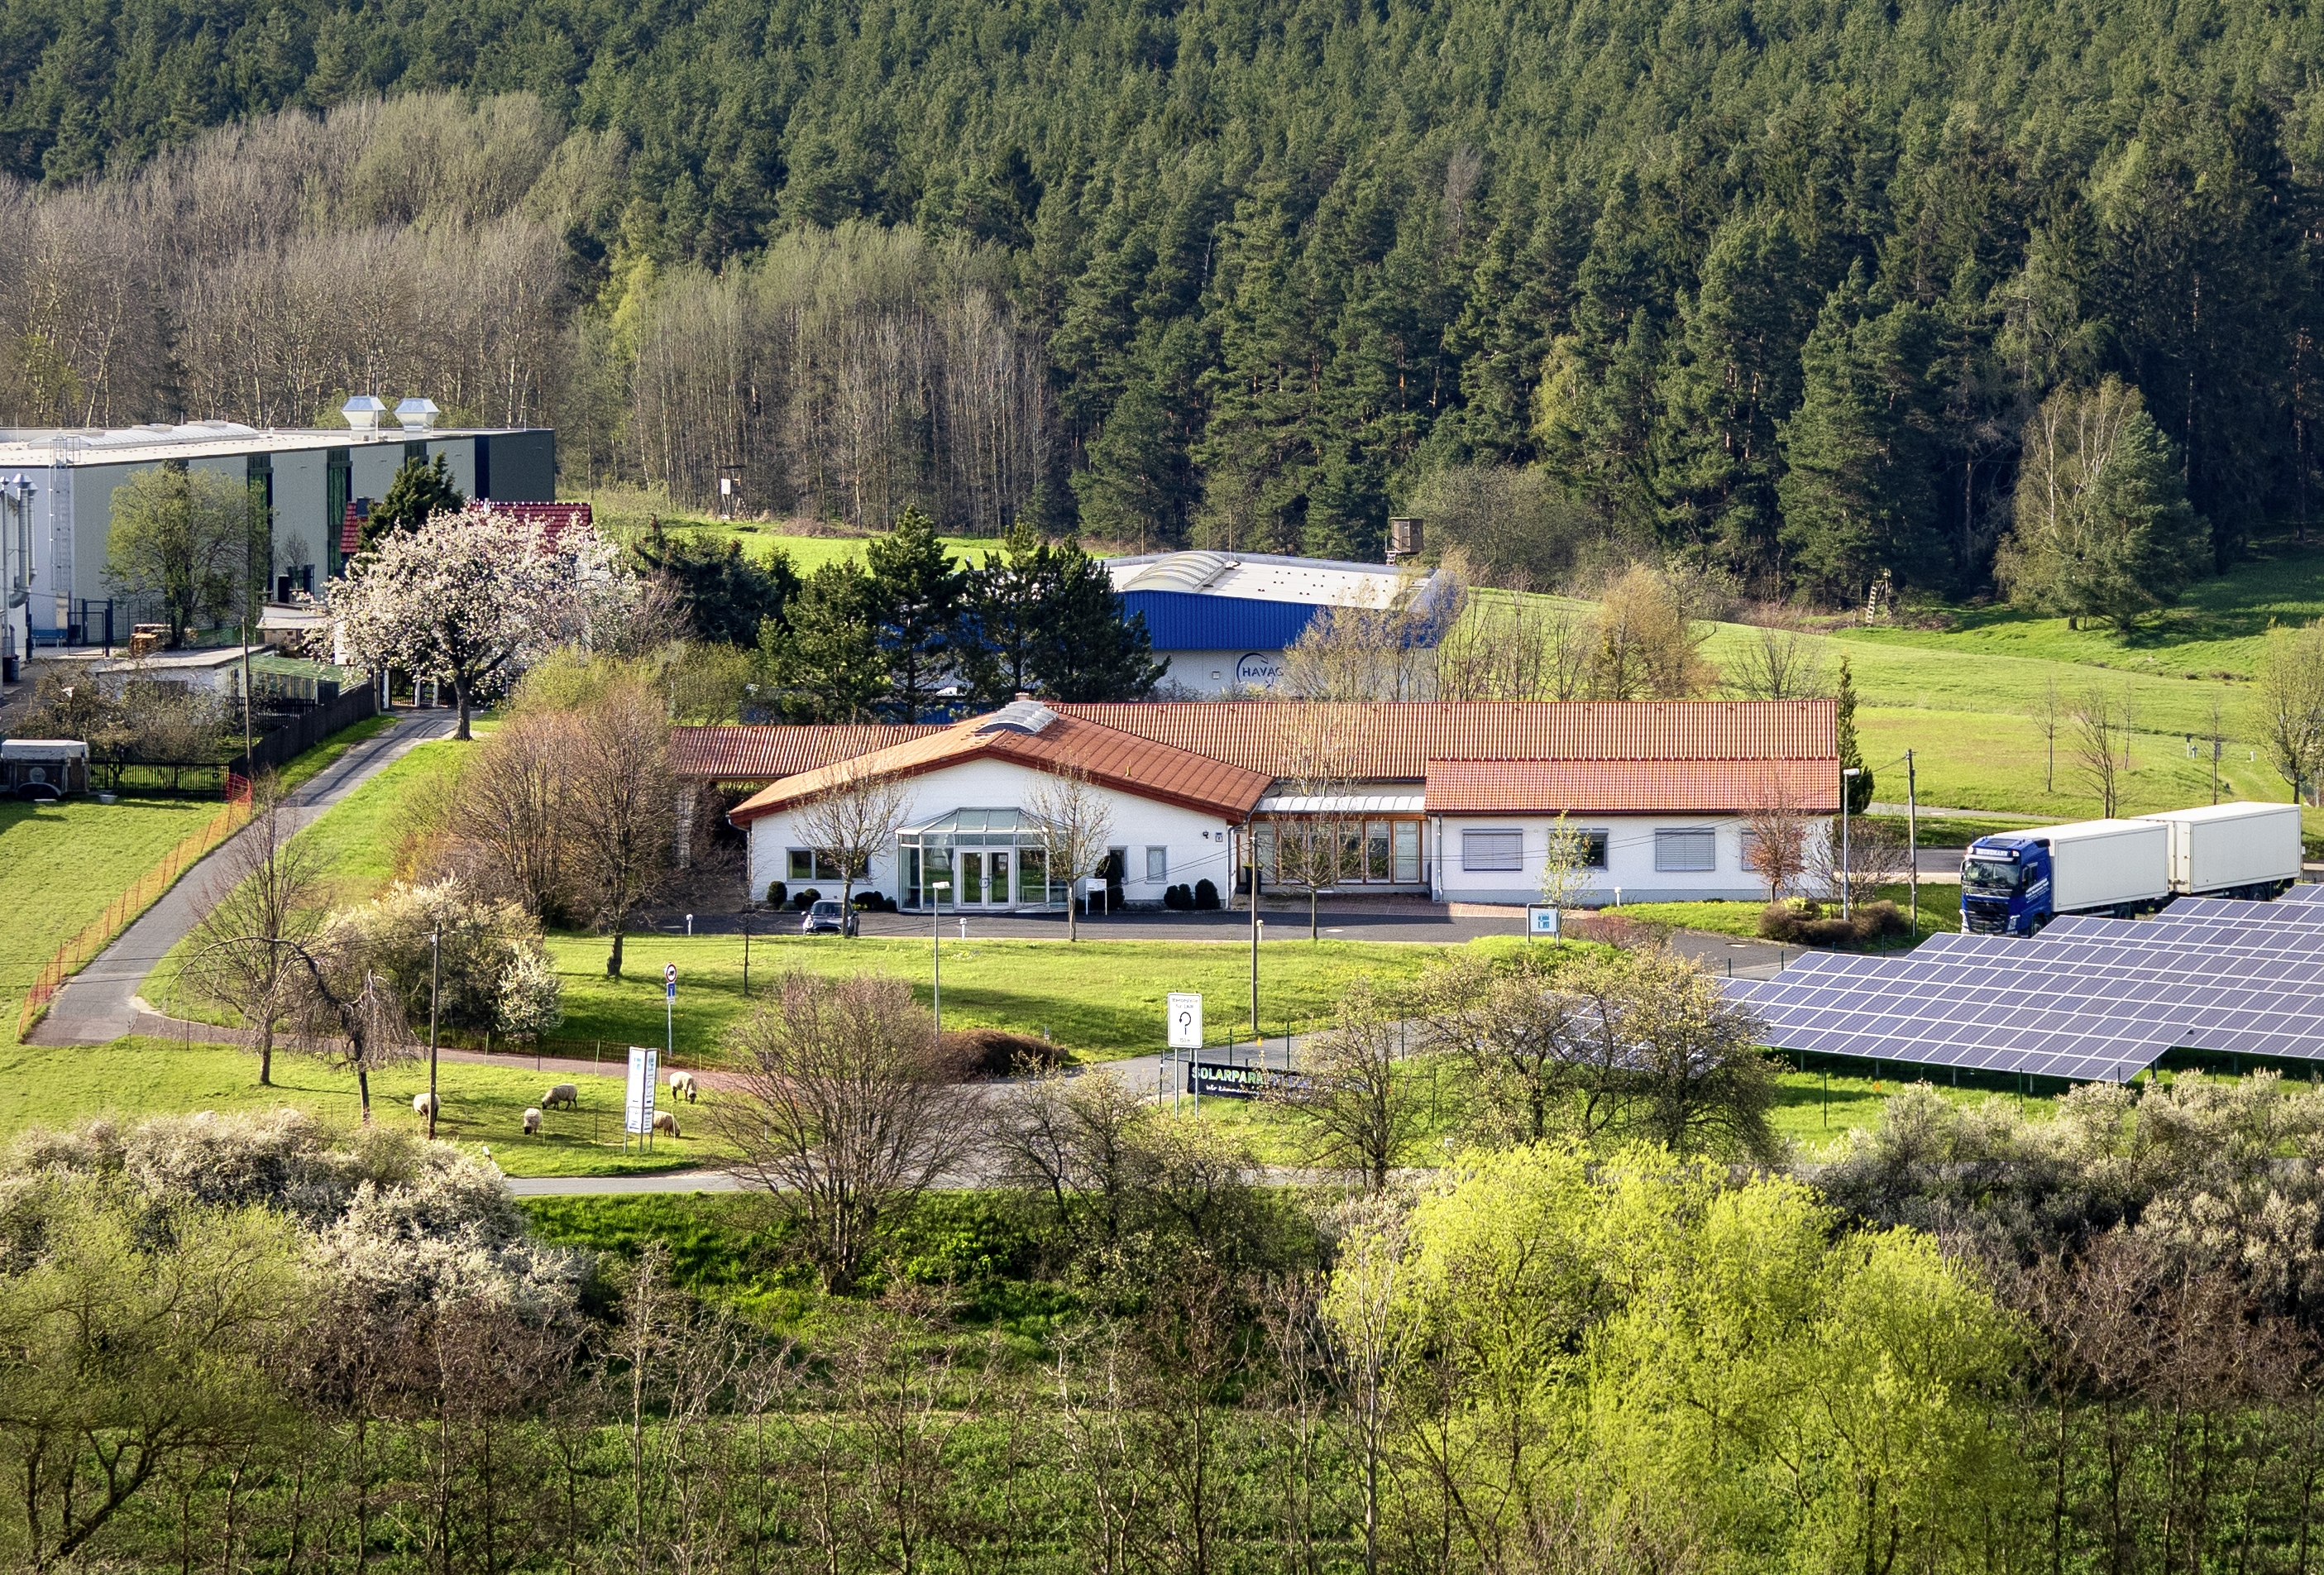
At a high personal and financial risk, but with a firm belief in the company's long-term success, VMA's company headquarters were built in Ilmenau and officially inaugurated in 1994. From that point on, the site acted as a base for the development, production and global sales of VMA measuring technology products.
1995 | Breaking new ground
While VMA had previously focused on producing measuring technology for glass piping runs, from the mid-1990s this technology was successfully applied to flat glass, creating the new business area of thickness measurements for flat glass.
Early 2000s | Another step forward
The success of VMA measuring technology products in the fields of glass tubing and flat glass sparked the interest of container glass manufacturers. This resulted in VMA becoming the first company with the capacity to take non-contact wall thickness measurements of container glass at the beginning of the 2000s.
The business won major contracts, which allowed VMA to continue to grow. By having direct contact with customers, which was already crucial at that stage, it was not only possible to further develop sensors but also electronics, among other areas, according to customer requirements.
2009 | A new generation
In 2009, the well-earned retirement of the Managing Directors and the new appointments of Nico Thomae and Fred Vogler marked a new chapter in VMA's history.
Fresh impetus was brought to the increasingly complicated projects and tasks. Since then it has been continued to press ahead with optimising existing and developing new measuring technologies. This includes, among others, the new FLX system, the multi-level sensor, a laboratory measuring device and piping measuring technology, as well as modernising the thickness measurement system for flat glass.
2016 | More space for more possibilities
Having already extended the company headquarters in 2008 to account for rising production capacities, the site was again extended in 2016 with a new optical and installation space. This allows to install and check optical systems in an optimal environment.
Today | Our company
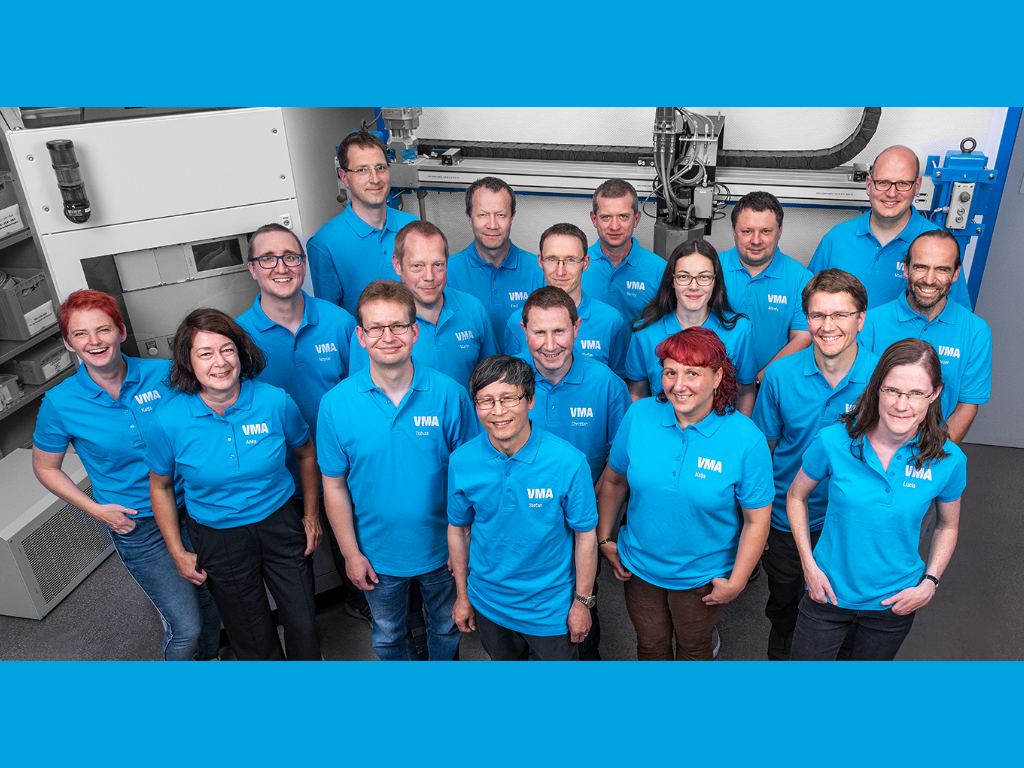
Today, we employ 20 people in a well-coordinated team of service and development engineers, software developers, mechatronics technicians, purchasers and project managers.
We work every day to further develop our measuring technology so that we can continue to assist our customers in the glass industry into the future.
VMA company values
We specialise in developing and manufacturing optical, non-contact measuring technology for the glass industry.
By providing reliable and accurate measurements, we support our customers in ensuring the highest quality in glass manufacturing – whether for container glass, flat glass or other glass products.
We also give our customers the opportunity to use the collected measurement data in order to optimise processes, to make glass manufacturing efficient and to save resources.
Since the company was founded in 1990, we have been a reliable quality partner for our customers. Our long-standing customer relations are underpinned by our corporate values, which we always put into practice.
Longevity with a clear, forward-looking vision
We have been manufacturing measuring technology products for the glass industry for over 30 years. During this time, we have established new measuring processes and new sensors for specific applications. We are always open to new ideas which will advance the development of our measuring technology products in the future.
Quality every day
Our measuring technology products take accurate measurements, are robust and durable. We ensure that we provide sophisticated hardware and software solutions, high-quality materials and tailor-made manufacturing. We believe that it is important to develop, assemble and calibrate our measuring technology in-house because this is how we ensure that our quality standards are met.
A personal customer-focused approach
We aim to work in close collaboration with our customers so that they receive a suitable measuring technology solution.
It is simple for our customers to get in touch with us, reaching the right contact person directly without any diversions. We also take the time to listen to your concerns and provide a quick response. We are only satisfied if our measuring technology is working properly at the customer's premises and reliably performs the measuring task.
Responsibility for our employees and the region
We offer family-oriented working conditions which range from flexible working hours to childcare support.
We think that it is important to have connections with the local region. For example, we work closely together with suppliers from the central German state of Thuringia in the fields of electronics, mechanics and optical manufacturing. We also cooperate with universities and research institutions based here. Moreover, our involvement in the local region is not only limited to our measuring technology. We also regularly support social institutions and local associations.
Employee participation
We place great value on our employees using their technical expertise and being able to work independently. This means that everyone organises their own defined tasks, reflects on their approach and allows for new possibilities. In addition, we get together to exchange ideas and have discussions, as well as to give and receive constructive feedback. If this results in new ideas for processes, products or further training, the company will support it.
Showing respect to others
External
We believe that treating people respectfully means taking our customers and suppliers seriously and communicating with them as equal partners. Professional cooperation is a priority for us in achieving a successful outcome.
In-house
We treat each other with respect to enable us to work well together as a team. During technical discussions, we are clear, fair and objective – and always focused on the common goal.
Careers
Apply now and join the VMA team!

